TL;DR

Get cleaning gear delivered free — and shop member deals
- Fast, free delivery on millions of items
- Access to Prime Big Deal Days deals on October 6–7
- Prime Video, Amazon Music and more included
Thoroughly cleaning your floors before moving out helps secure your security deposit. Use the right methods for your flooring type, pay attention to detail, and consider eco-friendly products for best results.
Moving out of a rental often comes with a checklist of demands — and floor cleaning ranks high. But it’s not just about wiping and sweeping; it’s about knowing what your floors need and how to do it right. An improperly cleaned floor can cost you your deposit, while a thorough job can make the landlord smile.
In this guide, you’ll learn how to clean different flooring types safely and effectively. We’ll cover the best methods, common pitfalls, and tips backed by real-world experience. Get ready to leave your rental looking pristine — and with your deposit intact.
Identify your flooring type first to choose the safest cleaning method.
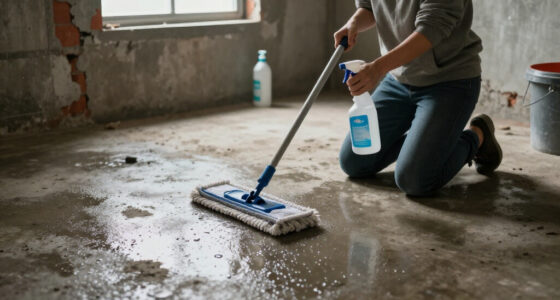
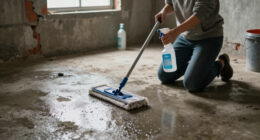
Remove all furniture and debris before mopping for thorough results.
Use gentle, pH-neutral cleaners on hardwood and laminate floors.
For tile and grout, a soft brush and baking soda paste can remove stubborn stains.
Always test cleaning products on a hidden patch to avoid damage.
Know Your Floors: What Type of Surface Are You Cleaning?
Before you grab a mop, identify what kind of floors you have. Each surface demands a different approach to avoid damage and achieve a spotless look.
For example, hardwood floors need gentle cleaning, while tile can handle more vigorous scrubbing. Recognizing your floors helps you pick the right tools and cleaners, saving you time and trouble.
Think about the last time you cleaned. Was it a shiny, smooth wooden floor? Or textured ceramic tiles? The difference is crucial — and a quick inspection can save you from costly mistakes.
Choosing the wrong cleaning method can lead to damage, such as warping, discoloration, or surface scratches, which might result in deposit deductions. Conversely, using appropriate techniques preserves the integrity and appearance of your floors, potentially saving you money and hassle during inspection.
As an affiliate, we earn on qualifying purchases.
Step-by-Step: How to Prepare for a Floor Deep-Clean
- Remove all furniture, rugs, and personal items. Clearing the space makes cleaning easier and more thorough.
- Sweep or vacuum loose dirt, dust, and debris. This prevents scratching and dulling your floors during mopping.
- Inspect for stains or sticky spots. Mark areas needing extra attention.
- Test cleaning products on a small, hidden patch first. This prevents accidental surface damage.
Imagine moving a sofa only to see scratches from dirt or a streaky mop mark. Proper prep keeps your floors looking like new.
This initial step sets the foundation for a successful cleaning, no matter your flooring type.
Skipping thorough preparation can lead to scratching, streaks, or incomplete cleaning, which might cost you your deposit if the landlord finds dirt or damage. Taking the time to prep ensures you remove debris that could cause scratches and identifies problem areas early, allowing you to address them properly and avoid costly touch-ups later.
As an affiliate, we earn on qualifying purchases.
Cleaning Hardwood Floors Without Damage: What You Need to Know
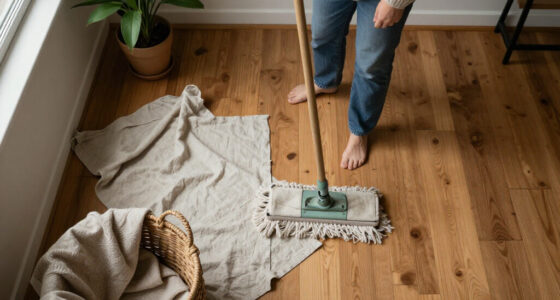
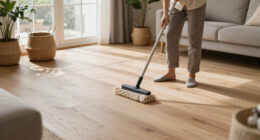
Hardwood floors demand gentle care. Use a soft broom or microfiber dust mop to remove dust and dirt first. Then, damp mop with water mixed with a pH-neutral cleaner designed for wood.
Avoid excess water — it can warp or stain wood over time. After mopping, dry the surface with a clean, soft cloth.
For stubborn spots, use a slightly damp cloth with a mild soap solution. Never pour cleaner directly onto the floor.
Imagine a shiny, scratch-free floor after a quick damp mop and dry. That’s the goal — clean, shiny, and damage-free.
Using excessive water or harsh chemicals can cause swelling, warping, or discoloration, which may lead to costly repairs or deposit deductions. Properly cleaning with gentle, appropriate products preserves the floor’s finish and structural integrity, ensuring it looks its best for the inspection and beyond.
eco-friendly floor cleaner for hardwood
As an affiliate, we earn on qualifying purchases.
As an affiliate, we earn on qualifying purchases.
Tackling Tile and Vinyl Floors: The Right Approach
Tile and vinyl floors can handle more scrubbing, but you still want to play it safe. Sweep or vacuum to remove loose dirt first. Then, mop with warm water and a gentle cleaner suitable for tile or vinyl.
For grout lines, use a soft brush and a mixture of baking soda and water to scrub away stains and mold. Rinse thoroughly to prevent residue buildup.
Imagine grout lines sparkling white, and vinyl floors streak-free — cleaning these surfaces can be straightforward with the right tools.
Remember: harsh chemicals or abrasive scrubbers can damage tiles or vinyl, so stick to gentle solutions. Overusing strong cleaners or scrubbing too hard can erode grout or scratch vinyl, leading to repairs or replacement costs that could reduce your deposit refund. Gentle, targeted cleaning preserves the surface integrity and ensures a clean, professional look.
baking soda stain remover for tiles
As an affiliate, we earn on qualifying purchases.
As an affiliate, we earn on qualifying purchases.
Laminates and Hard Surfaces: Do’s and Don’ts for Safe Cleaning
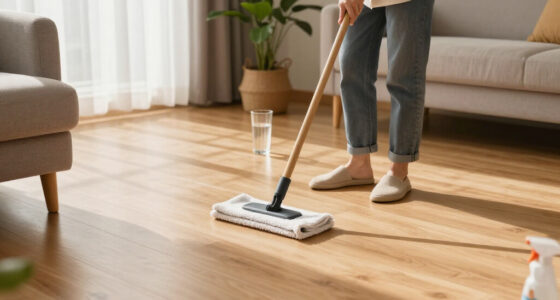
Laminates are sensitive to excess water and harsh chemicals. Use a microfiber mop dampened with a laminate-specific cleaner or plain water. Wring out excess moisture to prevent swelling or warping.
Skip abrasive scrubbers or ammonia-based cleaners. They can scratch or dull the surface.
A quick wipe with a damp cloth and a gentle cleaner will keep your laminate looking fresh without damage. For stubborn marks, a soft sponge and mild soap usually do the trick.
Picture a laminate floor that looks brand new after a careful wipe — shiny, smooth, and damage-free.
Using the wrong cleaning products or excessive moisture can cause swelling, peeling, or dullness, which might necessitate costly repairs or even replacement. Following safe practices helps maintain the surface’s appearance and longevity, preventing damage that could cost you your deposit.
Final Touches: How to Spot-Check and Make Your Floors Shine
Once your floors are clean, walk through and check for missed spots or streaks. Use a soft cloth to buff out any remaining smudges or water spots.
Pay attention to corners, edges, and grout lines. These areas often hide dirt or residue.
If needed, do a quick re-mop or spot clean. A well-dried, streak-free floor shows you took the time to do it right.
Think of this as the finishing touch — the moment your rental transforms from dirty to pristine.
Neglecting detailed inspection can leave dirt or streaks unnoticed, which might be flagged during the move-out inspection. Carefully inspecting and finishing your floors ensures all spots are addressed, reducing the risk of deposit deductions due to overlooked dirt or uneven cleaning.
Eco-Friendly and Safe Cleaning: Protect Your Floors and the Environment
Choose cleaning products that are labeled eco-friendly and safe for your specific flooring. Many commercial cleaners contain harsh chemicals that can degrade surfaces over time.
Simple solutions like warm water with a splash of white vinegar or baking soda can effectively clean many surfaces without risking damage.
Test any new product on a hidden area first. This prevents surprises and keeps your floors in top shape.
Imagine cleaning confidently, knowing you’re protecting your floors, your health, and the planet at the same time.
Opting for eco-friendly products not only reduces chemical exposure but also minimizes environmental impact. Proper testing and choosing gentle, sustainable cleaners help maintain your floors’ appearance and prolong their lifespan, ensuring they look their best during inspection and beyond.
Frequently Asked Questions
Can I use bleach on my floors to disinfect them before moving out?
Bleach can be effective for disinfection, but it’s risky on many flooring types, especially hardwood, laminate, and vinyl. It can cause discoloration or surface damage. Always check your manufacturer’s guidelines and test in a small area first.
How do I remove stubborn stains from hardwood floors?
For stubborn stains, use a soft cloth dampened with a mixture of water and a few drops of mild dish soap. Gently rub the stain, then dry immediately. For tougher marks, a small amount of baking soda on a damp cloth can help lift the stain without damaging the finish.
Is professional cleaning necessary, or can I do it myself?
Many landlords require professional cleaning for carpets and floors. However, with proper technique and patience, you can often do a thorough job yourself. For stubborn or extensive dirt, hiring professionals might be worth the investment to guarantee full deposit return.
How long should I allocate for cleaning my floors before moving out?
Plan for at least 2-4 hours, depending on the size of your rental and the amount of cleaning required. Break it into sections — start with prep, then deep clean, then final inspection. Rushing can lead to missed spots or damage.
Conclusion
Leaving your rental floors spotless is about attention to detail and knowing what your surfaces need. A gentle, methodical approach not only protects your deposit but also keeps your floors looking fresh long after you move out.
Remember, a clean floor isn’t just about appearances — it’s your last act of respect for the space. So take your time, be thorough, and walk away knowing you did the best job possible.
Fall Picks
fall essentials
As an affiliate, we earn on qualifying purchases.