TL;DR
Get ready for Prime Big Deal Days — try Prime free
Exclusive member deals on October 6–7, plus fast free delivery. Cancel anytime.
Start your free trialAs an affiliate, we earn on qualifying purchases.
Cleaning floors after a renovation requires careful planning. Start with dust removal, then use appropriate cleaning methods for your floor type. Proper care prevents damage and restores beauty.
Always start with dry cleaning—vacuum or sweep—before wet cleaning to avoid spreading dust into cracks.
Identify your floor type first and choose gentle, pH-neutral cleaners suited to that surface.
Use tested solvents carefully for stubborn stains; never rush into harsh chemicals without testing first.
Protect your floors with sealants or finishes after cleaning, especially in high-traffic areas.
Regular maintenance—sweeping, prompt spill cleanup—keeps your floors looking new long after the renovation.
Start with the basics: How to remove dust and debris safely
Before you get wet, you need to clear away the loose debris. Dry cleaning is your first move.
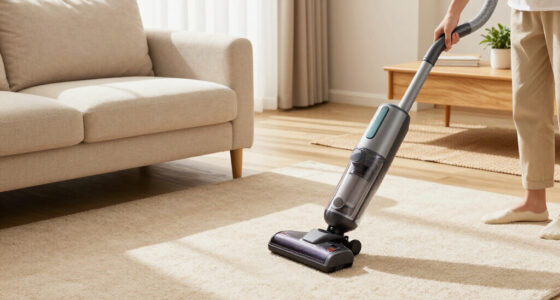
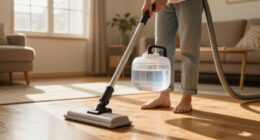
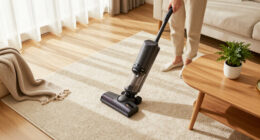
Use a microfiber dust mop or a vacuum with a soft brush attachment. Drywall dust, wood shavings, and grit settle quickly—if you skip this step, wet cleaning just spreads the mess. Imagine a homeowner in a newly renovated living room: they sweep first, pushing the dust into a pile, then vacuum carefully around edges. That’s the key. For stubborn corners, a handheld brush and a microfiber cloth work well.
Dry debris removal prevents scratching or staining your floors later. Remember: dust is a sneaky villain—it settles deep into cracks and can be tough to remove once mixed with water.
As an affiliate, we earn on qualifying purchases.
Choosing the right cleaning method for your floor type
Not all floors react the same to cleaning. Hardwood, laminate, tile, vinyl—each needs specific care.
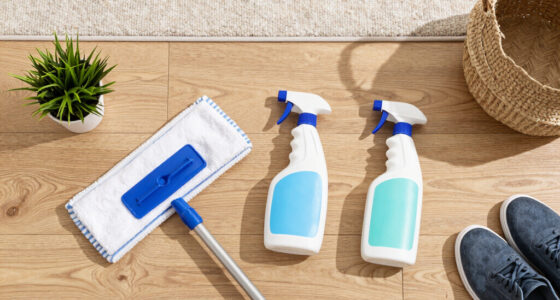
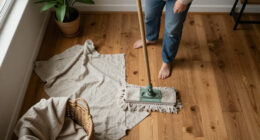
For example, hardwood floors love a damp microfiber mop with a mild soap solution. Avoid excessive water, which can warp the wood. Tile or vinyl floors handle a gentle scrub with pH-neutral cleaners without damage.
Here’s a quick comparison:
| Floor Type | Recommended Cleaning Method | Notes |
|---|---|---|
| Hardwood | Microfiber mop + mild soap, minimal water | Test first; avoid soaking |
| Tile/Vinyl | Warm water + pH-neutral cleaner | Safe for most residues |
| Laminate | Microfiber mop + gentle cleaner | Use sparingly; avoid excess moisture |
Understanding why these distinctions matter is crucial. Hardwood floors are sensitive to excess moisture because water can cause the wood fibers to swell, warp, or stain over time, compromising the floor’s integrity and appearance. Tile and vinyl are more resilient but can be damaged by abrasive cleaners or harsh chemicals, which might strip protective coatings or discolor surfaces. Laminate flooring, with its layered construction, can delaminate if exposed to too much water or aggressive cleaning agents. Recognizing these nuances helps prevent unintended damage, saving you time and money in repairs or replacements. Always check the manufacturer’s instructions because they provide the best guidance tailored to your specific flooring material.
As an affiliate, we earn on qualifying purchases.
How to tackle stubborn stains and residues
Paint splatters, adhesive, or glue—these are the real test of your cleaning routine.
Start by testing any solvent on a hidden spot. Mineral spirits work well for latex paint or adhesives—but only after testing first. For example, a homeowner notices paint blobs on their vinyl plank floor. They gently dab with a cloth soaked in mineral spirits, then follow up with a damp microfiber cloth. Always ventilate the area and wear gloves.
For dried glue or adhesive residues, patience and gentle solvents do the trick. The key is understanding the nature of the stain. Using the wrong solvent can damage the surface or cause discoloration, which is why testing in an inconspicuous area is essential. For example, acetone might remove certain adhesives but can damage or discolor plastics or vinyl. Knowing your surface and stain type helps you choose the safest, most effective approach. Remember, aggressive scrubbing or harsh chemicals may seem tempting but often lead to surface damage or long-term deterioration. Prioritize gentle, tested solutions, and always follow manufacturer recommendations for chemical use. This careful approach ensures your repairs don’t turn into new problems, preserving the look and longevity of your floors.
pH-neutral floor cleaner for hardwood
As an affiliate, we earn on qualifying purchases.
As an affiliate, we earn on qualifying purchases.
Protect your floors after cleaning: Sealants and ongoing care
Once your floors are clean, consider if they need extra protection. A fresh coat of sealant can guard against future stains or scratches—especially on hardwood.
For high-traffic areas, a simple application of a protective finish adds durability. For example, a homeowner applies a clear polyurethane on their hardwood after cleaning, restoring shine and sealing out future grime.
Regular maintenance makes a big difference. Sweep or vacuum weekly, wipe spills immediately, and schedule deep cleans every few months. This routine isn’t just about aesthetics; it’s about maintaining the integrity of your surfaces. Proper ongoing care helps prevent dirt, grime, and moisture from settling into cracks or causing long-term damage. When you regularly care for your floors, you’re effectively extending their lifespan, saving money on repairs or replacements down the line. Think of it as a preventative measure—like regular health checkups—that keeps your home’s foundation strong and beautiful for years to come.
As an affiliate, we earn on qualifying purchases.
Avoid common pitfalls that damage your surfaces
Be cautious with water and harsh chemicals. Excessive moisture can cause wood to warp or laminate to swell. Harsh cleaners might strip protective coatings or discolor tiles.
For example, using bleach on vinyl floors can turn them yellow over time. Similarly, pouring a bucket of water on hardwood can lead to swelling and buckling. Always stick to manufacturer-approved cleaners and test in a small, hidden area first.
Ventilate well during and after cleaning to dispel dust and fumes. This keeps the air fresh and your surfaces safe.
Understanding the implications of improper cleaning techniques is vital. Excess water or abrasive chemicals can cause irreversible damage, leading to costly repairs or replacements. For instance, over-wetting a hardwood floor can cause the wood fibers to swell, resulting in buckling or warping that is difficult and expensive to fix. Harsh chemicals like bleach or ammonia may strip away protective finishes, leaving surfaces vulnerable to staining or discoloration. Recognizing these risks and adhering to safe cleaning practices preserves your floors’ integrity and appearance, ensuring your investment stands the test of time. Proper ventilation isn’t just about comfort; it prevents the buildup of fumes that can react with cleaning agents and surfaces, further safeguarding your home environment.
Step-by-step: Your post-renovation cleaning checklist
- Start with dry sweeping or vacuuming to remove loose debris.
- Use microfiber mops or electrostatic dusters for fine dust removal.
- Choose the right cleaning solution based on your floor type.
- Wet mop, going section by section—don’t oversaturate.
- Address stubborn stains with tested solvents and gentle scrubbing.
- Allow floors to dry completely before walking or placing furniture.
- Apply protective sealants if needed, for added durability.
Frequently Asked Questions
How do I remove drywall dust from hardwood floors without damaging the finish?
Start with a dry microfiber mop or vacuum with a soft brush attachment. This lifts the dust without scratching. Follow up with a damp microfiber cloth using a mild, pH-neutral cleaner, making sure not to oversaturate. Always test in a small hidden area first.Can I use a steam mop on newly renovated floors?
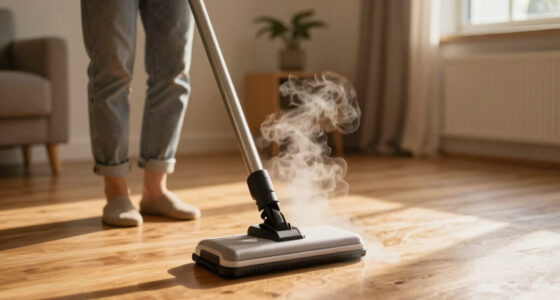
It depends on your floor type. Steam can damage hardwood or laminate if not recommended by the manufacturer. For tile or vinyl, steam is usually safe, but always check your surfaces’ care instructions beforehand.What’s the safest way to remove paint splatters from a laminate floor?
Test a small patch with a gentle solvent like mineral spirits. Dampen a cloth and lightly dab the paint, avoiding excessive rubbing. Follow with a damp microfiber cloth to remove residue. Ventilate the area and wear gloves.How long should I wait before walking on the floors after cleaning?
Most floors need several hours to dry completely—up to 4-6 hours for thicker cleaning solutions. Ventilate the space to speed up drying and avoid tracking dirt or water into fresh cleaning areas.Should I hire a professional for post-renovation floor cleaning?
For large areas, stubborn stains, or delicate surfaces, a professional cleaning ensures thoroughness and less risk of damage. Professionals have specialized equipment and experience that DIY can’t match.Conclusion
A thorough, careful cleaning after a renovation isn’t just about appearance. It’s about protecting your surfaces and prolonging their life. Think of it like giving your floors a fresh breath—delicate but vital. Take your time, follow the right steps, and your floors will thank you for years to come.Evergreen bestsellers Picks
bestsellers
As an affiliate, we earn on qualifying purchases.