
TL;DR
Water leaks in steam mops usually stem from overfilling, damaged seals, or cracked tanks. Regular maintenance and proper use can prevent leaks and extend your device’s lifespan.
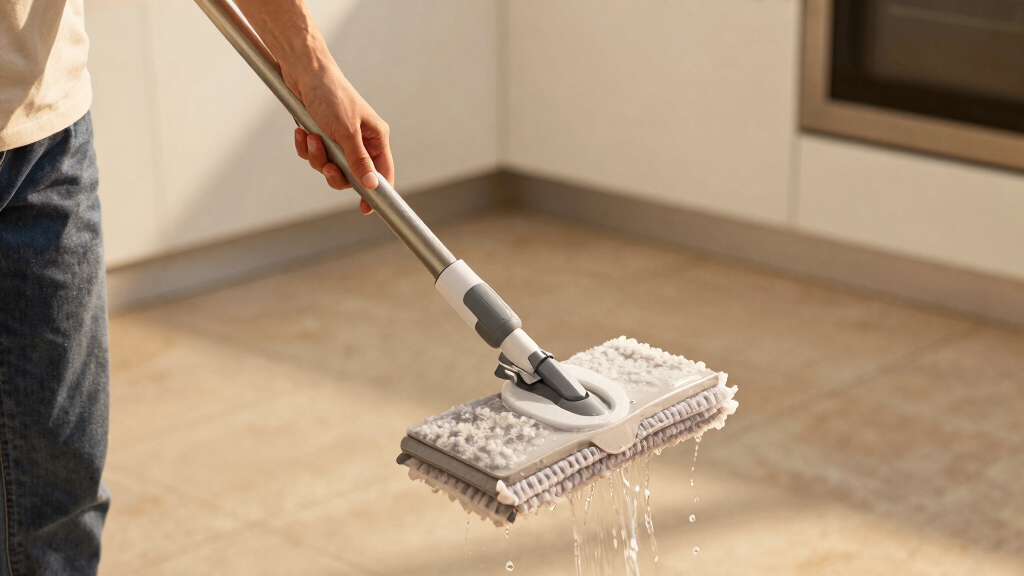
If your steam mop starts leaking water, it can turn cleaning into a frustrating mess. A sudden drip or steady stream might seem minor, but it can damage flooring or pose electrical hazards. Knowing the common causes helps you troubleshoot quickly and avoid costly repairs.
This guide walks you through the most frequent reasons your steam mop leaks, practical ways to fix them, and simple steps to prevent future issues. Whether you’re a seasoned cleaner or new to steam mops, understanding these basics keeps your device safe and effective.
Always fill the water tank to the recommended level to prevent overpressure.
Inspect seals and gaskets regularly, replacing them at the first sign of wear.
Use distilled water to avoid mineral buildup and clogging inside your steam mop.
Cracked tanks or damaged seals are the most common causes of leaks—replace if needed.
Modern models with leak sensors can help you catch issues early and avoid surprises.
Why Is My Steam Mop Leaking Water Even When Off?
Leaks when the steam mop is off usually point to a cracked water tank or damaged seals. These issues allow water to escape without pressure from the heating element. For example, a small crack in the tank might leak slowly, especially if the mop is stored in a tilted position.
Inspect the tank for visible cracks or damage. Sometimes, a tiny fracture isn’t obvious but can be felt or seen with a flashlight. Replacing the tank or sealing small cracks with waterproof adhesive often solves this problem.
Understanding why this happens is crucial because it highlights the importance of maintaining the integrity of these components. A cracked tank or compromised seal not only causes leaks but also reduces the efficiency of steam generation, leading to poorer cleaning results. Ignoring these signs can result in more extensive damage or electrical hazards, emphasizing the need for regular inspection and prompt repairs.
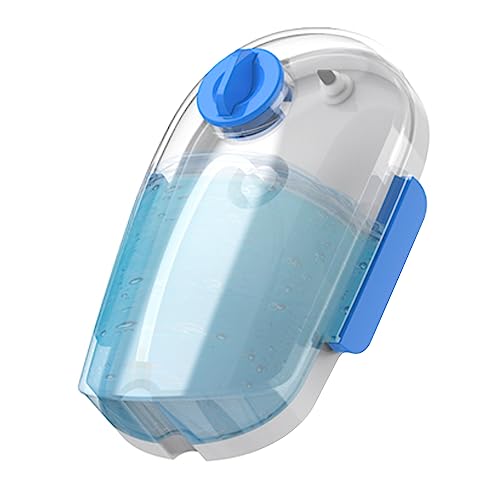
Removable Water Tank 15.2oz 450ml for Neugo NE033 NE033M Series Steam Mop Handheld Steamer Cleaner for Whole Home Cleaning Use
Removable Water Tank 15.2 oz / 450 ml for Neugo NE033 NE033M Series Steam Mop Handheld Steamer Cleaner…
As an affiliate, we earn on qualifying purchases.
As an affiliate, we earn on qualifying purchases.
How to Fix a Leaking Steam Mop Step-by-Step
- Unplug the device and let it cool completely to avoid burns or electrical hazards.
- Remove the water tank carefully, inspecting for cracks, warping, or damage to the seals. Pay attention to the tank’s connections and the seal around the opening, as these are common failure points.
- Check all connections and ensure the tank is seated properly. Misalignment can cause leaks under pressure or during storage.
- Replace worn-out or damaged seals—these are usually affordable and easy to install. Using the correct replacement parts ensures a proper seal, preventing future leaks.
- If the tank is cracked, contact the manufacturer for a replacement or use waterproof repair tape as a temporary fix. Keep in mind that temporary fixes may not withstand regular use, so replacing the tank is preferable for long-term safety.
- Refill with distilled water—this reduces mineral buildup and clogging, which can cause pressure irregularities and leaks over time.
- Test the mop in a controlled area before regular use to ensure the leak has been fixed and the device operates correctly.
Properly fixing leaks not only stops water from escaping but also maintains the steam mop’s performance. Neglecting these steps can lead to persistent leaks, damage to your flooring, or electrical issues, so thoroughness is key.
steam mop seal kit
As an affiliate, we earn on qualifying purchases.
As an affiliate, we earn on qualifying purchases.
Common Causes of Water Leakage in Steam Mops
| Cause | How It Happens | Signs |
|---|---|---|
| Overfilling | Filling beyond the max line causes excess water to escape or leak from seals. This can lead to internal pressure buildup, stressing the seals and increasing the risk of cracks or dislodgement, which worsens leaks over time. Overfilling also prevents proper steam generation, reducing cleaning effectiveness. | Water drips from the tank or around the nozzle after filling, indicating excess water escaped or internal pressure caused a leak. |
| Damaged Seals & Gaskets | Wear and tear from frequent use, heat cycles, or improper handling cause seals to crack or become loose. Damaged seals can’t maintain the necessary pressure, leading to water escaping during operation or storage. This often results in reduced steam output and potential water leaks. | Leakage during use or when stored, accompanied by decreased steam performance and visible damage to seals. |
| Cracked or Damaged Water Tank | Physical impacts, manufacturing defects, or prolonged use cause cracks or warping, compromising the tank’s integrity. A compromised tank can’t hold water under pressure, resulting in leaks and possible tank failure. | Visible cracks, puddles near the mop, or a tank that feels deformed. |
| Clogged or Faulty Steam Nozzles | Mineral deposits from hard water or damage cause nozzle blockages or irregular pressure, forcing water out through unintended pathways. This leads to inconsistent steam and water leaks. | Unusual dripping, water flow when the mop is off, or reduced steam output. |
| Loose Connections | Improper assembly, wear, or repeated movement can loosen joints and fittings, creating gaps where water can escape under pressure. This can happen at the hose, nozzle, or tank fittings. | Water leaks from joints or connection points, often accompanied by reduced efficiency. |
Regular inspection and maintenance of these parts are essential because they directly impact the device’s ability to contain water safely. Small issues can quickly escalate into major leaks, so understanding how each component contributes to overall integrity helps you prioritize repairs and prevent damage.
waterproof adhesive for steam mop cracks
As an affiliate, we earn on qualifying purchases.
As an affiliate, we earn on qualifying purchases.
How Using the Wrong Water Can Cause Leaks
Using tap water instead of distilled water can lead to mineral buildup inside your steam mop. This buildup accumulates on the internal components, particularly in nozzles and pressure chambers, reducing their ability to function properly. Over time, mineral deposits can cause blockages, forcing pressure to increase beyond safe limits, which may result in water being forced out of seals or joints.
For example, a user who consistently uses hard tap water might notice leaks developing after a few months, especially if they neglect regular descaling. Switching to distilled water minimizes mineral deposits, maintaining internal cleanliness and pressure stability. This reduces the risk of leaks caused by pressure irregularities or clogging.
Always follow your manufacturer’s advice on water type because using the wrong water not only causes leaks but also shortens the lifespan of internal parts, leading to more frequent repairs and higher long-term costs.

Bissell Spring Breeze Steam Water 80oz
EVERY PURCHASE SAVES PETS. Every purchase makes it possible for BISSELL to continue our support of BISSELL Pet…
As an affiliate, we earn on qualifying purchases.
As an affiliate, we earn on qualifying purchases.
Should You Repair or Replace Leaking Parts?
Many leaks stem from worn seals or small cracks that are relatively easy to fix, and addressing these issues promptly can save you money and extend your device’s lifespan. Replacing seals or the water tank often costs significantly less than purchasing a new steam mop, and these repairs restore the device’s ability to generate steam effectively. Proper sealing prevents future leaks and maintains optimal performance.
However, if cracks are extensive or the tank has suffered severe damage—such as warping or multiple fractures—repair may no longer be reliable. In such cases, replacing the entire unit ensures safety and consistent performance. It also prevents potential electrical hazards caused by compromised components.
Deciding whether to repair or replace depends on the extent of the damage and the age of your device. Consulting the manufacturer or a professional repair technician can help you make an informed decision. Remember, routine maintenance and timely repairs are key to preventing leaks and prolonging your steam mop’s usability.
What Modern Features Help Prevent Water Leaks?
Newer steam mop models come equipped with advanced leak detection sensors and automatic shut-off features. These innovations actively monitor internal pressure and water flow, allowing the device to respond quickly to potential issues. For instance, a model with leak detection might shut down or alert you if it detects abnormal water flow, preventing water from escaping and reducing damage risks.
Automatic shut-off features help avoid pressure buildup that could lead to leaks, especially if the mop is stored improperly or left unattended. Some models also include safety valves that release excess pressure, protecting internal components and your flooring.
Using these modern safety features is beneficial because they provide early warning signs and prevent catastrophic failures. Investing in a model with such features not only offers peace of mind but also minimizes long-term repair costs, making your cleaning routine safer and more reliable.
Frequently Asked Questions
Why does my steam mop leak water even when not in use?
Leaking when off often indicates a cracked water tank or damaged seals. Residual water can seep out if these parts are compromised. Inspect the tank for cracks and replace seals if needed before storing your mop.How can I fix a leaking steam mop myself?
Start by unplugging and cooling the device. Remove the tank, check for cracks or worn seals, and replace damaged parts. Tighten all connections and refill with distilled water. If leaks persist, contact the manufacturer or a repair specialist.Is it safe to keep using a leaking steam mop?
No, water leaks pose electrical shock risks and can damage your flooring. It’s best to repair or replace the faulty parts before continuing use to ensure safety and efficiency.How often should I inspect seals and tanks?
Inspect seals, gaskets, and tanks every 3-4 months if you use your steam mop regularly. Regular checks catch wear early and prevent leaks from worsening.Can mineral deposits cause my steam mop to leak?
Yes, using tap water can cause mineral buildup inside the nozzles and pressure chamber. Switching to distilled water reduces this risk and keeps your device functioning smoothly.Conclusion
A small leak in your steam mop isn’t the end of the world, but ignoring it can cause bigger problems—damage, reduced cleaning power, or electrical hazards. Regular inspection, proper use, and timely repairs keep your device running safely for years.
Next time you notice a drip, check the tank, seals, and connections first. A quick fix now can save you from costly replacements later. Stay vigilant, keep your steam mop in top shape, and enjoy sparkling floors without the mess.