
TL;DR
Cleaning textured or slip-resistant tiles requires gentle brushing, pH-neutral cleaners, and regular maintenance. Steam cleaning and careful grout care help keep surfaces safe and looking fresh without harming their textured finish.
Imagine stepping onto a bathroom floor that’s textured just enough to prevent slips but not so rough you feel like you’re walking on sandpaper. That’s the beauty—and challenge—of cleaning textured or slip-resistant tiles. These surfaces trap dirt deep within their grooves, making simple wiping insufficient.
Today, you’ll learn how to keep these tiles pristine and safe, without risking scratches or losing their slip-resistance. Whether you’re dealing with a busy kitchen, a shower stall, or a patio, knowing the right tools and techniques makes all the difference. Let’s dive into practical tips that will leave your textured tiles sparkling and secure underfoot.
Regular sweeping and monthly deep cleaning with gentle tools preserve slip-resistance and prevent dirt buildup.
Use pH-neutral cleaners or natural solutions like vinegar and baking soda to avoid damaging textured surfaces.
A soft brush combined with steam cleaning lifts dirt deep in grooves without harsh chemicals.
Grout requires periodic cleaning and sealing to prevent mold and ease future maintenance.
Avoid aggressive scrubbing or high-pressure washing, which can damage textured finishes and reduce safety.
How to Clean Textured or Slip-Resistant Tile
Grooves and ridges improve grip—but they also hold dirt, soap residue and mold. The safest cleaning strategy combines gentle agitation, a pH-neutral solution, complete rinsing and thorough drying.
A soft microfiber brush plus controlled steam can lift embedded dirt without sanding away the surface’s protective texture.
Grip works best when the grooves stay clear.
Textured tile behaves like the tread on a shoe. Once its channels fill with grime, the surface can become slick, uneven and harder to sanitize. Routine care protects both appearance and traction.
Preserve traction
Removing grease, soap film and compacted dirt keeps the raised texture exposed and effective underfoot.
Prevent surface wear
Loose grit acts like sandpaper during foot traffic. Weekly debris removal helps reduce scratching and dullness.
Interrupt mold growth
Rinsing and drying remove the damp residue that allows mold and mildew to establish in grout and grooves.
Four steps from gritty to grippy.
Work methodically across a small area at a time. Gentle repetition is safer than aggressive scrubbing and more effective than a quick surface wipe.
Lift loose debris
Sweep or vacuum grit, hair and crumbs before adding water. This prevents loose particles from scratching the finish.
Mix a mild solution
Combine warm water with a few drops of pH-neutral cleaner. Use diluted vinegar only when the tile maker permits it.
Brush the grooves
Use a soft-bristle brush or microfiber mop. Apply light pressure and overlap passes in high-traffic areas.
Rinse and dry
Remove all cleaner with fresh water, then use a microfiber cloth or squeegee to leave the surface completely dry.
Choose reach, not roughness.
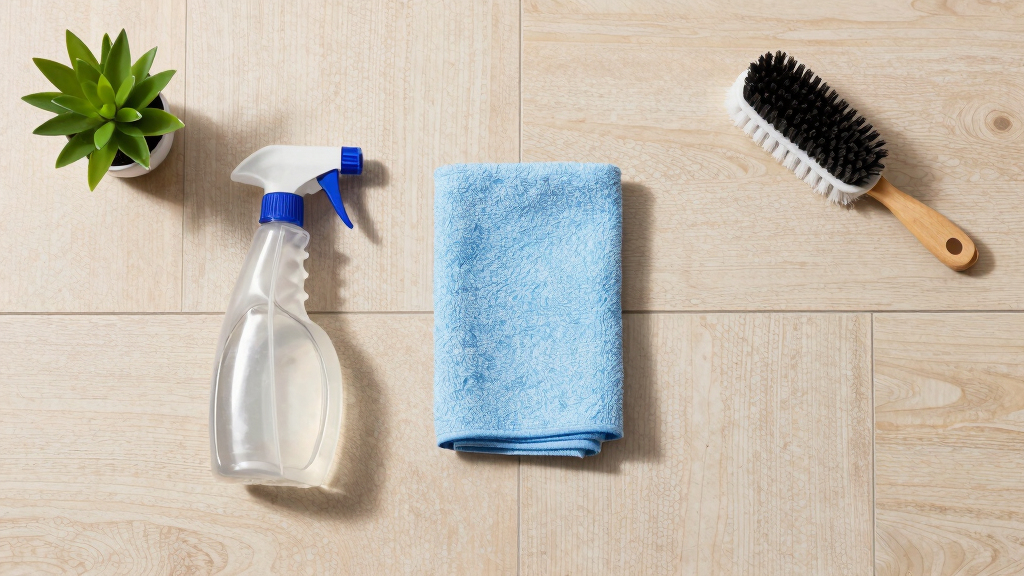
The ideal setup reaches into low points without polishing, scratching or flattening the texture. Always test a new solution in a hidden corner first.
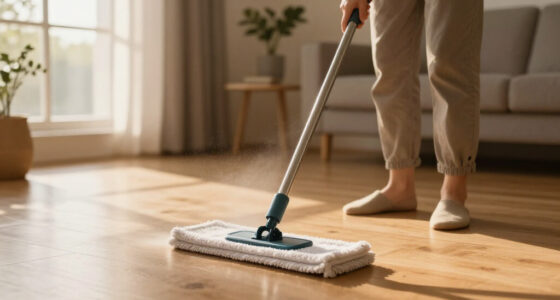
Microfiber mop
Collects fine particles and spreads cleaner evenly without leaving abrasive fibers behind.
Soft-bristle brush
Reaches ridges, grout lines and recessed texture while limiting the risk of scratches.
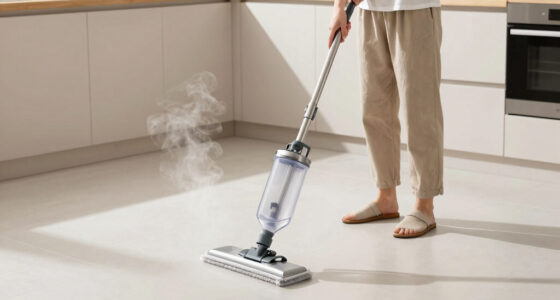
Controlled steam
Loosens embedded grime and sanitizes without strong chemicals when the tile and grout are steam-safe.
| Method or product | Suitability | Best use | Primary caution |
|---|---|---|---|
| pH-neutral cleaner | ✓ Preferred | Routine washing | Follow dilution directions |
| Mild dish soap | ✓ Suitable | Light grease and soil | Rinse fully to prevent film |
| Baking soda paste | ~ Targeted | Stains and grout spots | Scrub gently; rinse well |
| Diluted vinegar | ~ Conditional | Compatible ceramic surfaces | Avoid acid-sensitive stone and grout |
| Metal brush or harsh pad | ✗ Avoid | None on textured finishes | Can scratch and alter traction |
| High-pressure washing | ✗ High risk | Only maker-approved exterior tile | May erode grout or damage edges |
Protect the lines between the tiles.
Porous grout absorbs moisture and discoloration faster than tile. Periodic brushing, careful drying and resealing reduce mold risk and make future cleaning easier.
Clean, rinse, dry, seal.
Apply a baking soda paste or grout-safe cleaner with a small soft brush. Allow a short dwell time, then gently agitate and remove every trace of residue.
The essential do’s and don’ts.
A clean floor should remain a safe floor. Avoid shortcuts that leave slick residue, erode grout or smooth the texture designed to create traction.
Protect the texture
- Use soft brushes and clean microfiber tools.
- Work cleaner into grooves with light, controlled pressure.
- Test every new product in a discreet area.
- Rinse until the water is clear and residue-free.
- Dry the floor fully before normal foot traffic resumes.
Create hidden damage
- Do not scour the tile with metal brushes or abrasive pads.
- Do not use bleach or strong acids without maker approval.
- Do not leave soapy water sitting in grooves or grout lines.
- Do not apply high-pressure water to delicate grout or finishes.
- Do not mix cleaning products or assume every tile is acid-safe.
Every step supports the next safety outcome.
Safe cleaning, distilled.
Consistency matters more than force. A gentle routine keeps textured tile fresh while protecting the very finish that makes it safer.
Why Regular Cleaning Keeps Your Textured Tiles Safe and Long-Lasting
Textured or slip-resistant tiles are designed with grooves, ridges, or matte finishes. These features prevent slipping but can trap dirt, mold, and grime, which wear down the surface over time. Regular cleaning isn’t just about appearance—it’s about maintaining their slip-resistance and durability.
Imagine a kitchen floor with textured tiles. If dirt builds up in the grooves, it can cause the surface to become slick or rough, reducing safety. A quick sweep or vacuum weekly prevents debris from settling. Monthly deep cleaning with gentle tools refreshes the surface, prolonging the tile’s lifespan.
Think of your textured tiles like a pair of shoes with grip tread. Regular maintenance keeps the tread from clogging, ensuring you don’t slip. Neglecting this can lead to buildup, making the surface hazardous or dull.
Deep cleaning is vital because dirt, soap scum, and mold can embed deeply into the grooves, which regular sweeping or mopping might not remove. Over time, this buildup can reduce the tile’s slip-resistance—ironically making the surface more dangerous. Regular cleaning not only preserves the aesthetic appeal but also the safety features that make textured tiles a smart choice for high-traffic or wet areas. It’s a tradeoff: neglecting regular care might save time short-term but risks safety and costly repairs in the long run.

Holikme 5 Pack Cleaning Brush Scrub Brush Kitchen Brush for Floor,Green
- Versatile Cleaning Brush Set: Includes various brushes for different tasks
- Deep Cleaning Power: Removes stubborn dirt effectively
- Ergonomic Handle: Comfortable grip for easy use
As an affiliate, we earn on qualifying purchases.
As an affiliate, we earn on qualifying purchases.
Best Tools and Products for a Gentle Yet Effective Clean
Using the right tools makes all the difference. For textured tiles, soft-bristle brushes or microfiber mops reach into grooves without scratching. Avoid harsh scrubbers or metal brushes—they can damage the finish and reduce slip-resistance.
Opt for pH-neutral cleaners or mild dish soap. Natural solutions like vinegar diluted with water (1:3 ratio) work well, especially in eco-conscious households. Steer clear of bleach or acidic cleaners unless recommended by the manufacturer—they can degrade grout and tile over time.
For stubborn grime or mold, a soft brush with baking soda paste (baking soda mixed with a little water) gently lifts dirt. Using a steam cleaner with a microfiber attachment can deep-clean textured surfaces without chemicals, killing germs and lifting dirt efficiently.
Choosing appropriate tools and products is about balancing effectiveness with safety. Harsh chemicals or abrasive tools might seem quick fixes, but they risk degrading the textured surface or grout, which can compromise slip-resistance. Natural, pH-neutral cleaners combined with soft brushes ensure you remove dirt thoroughly without sacrificing the tile’s integrity. Steam cleaning offers a chemical-free alternative that penetrates deep into grooves, killing germs and lifting dirt while preserving the surface’s texture. This approach minimizes the tradeoffs—effective cleaning without risking damage or safety loss.

Steam Cleaner, Portable Steamer for Cleaning with 16pcs Accessories, 6-Level Adjustable and 15s Heat-Up, Handheld Steam Cleaner for Home, Tile, Dirt, Grout, Grease, Car Detailing
- Fast Heat-Up Time: Heats up in 15 seconds
- High-Temperature Steam: Releases 221°F steam at 3 bar
- Powerful Cleaning: 1500W for tough stains
As an affiliate, we earn on qualifying purchases.
As an affiliate, we earn on qualifying purchases.
How to Clean Textured Tiles in 4 Easy Steps
- Remove loose dirt and debris by sweeping or vacuuming. This prevents scratching during washing.
- Prepare a cleaning solution—mix warm water with a few drops of pH-neutral cleaner or vinegar.
- Use a soft-bristle brush or microfiber mop dipped in the solution, scrubbing gently into grooves. Focus on high-traffic or stained areas.
- Rinse with clean water and dry thoroughly with a microfiber cloth or squeegee. This prevents mold and keeps the surface slip-resistant.
For example, after a family gathering in the kitchen, a homeowner follows these steps, paying special attention to grout lines. The textured tiles look refreshed and safe underfoot.
Adhering to these steps ensures you remove dirt and grime effectively without damaging the textured surface. Proper rinsing and drying are critical because residual moisture can promote mold growth and reduce slip resistance, especially in humid environments. These steps balance thorough cleaning with the preservation of safety features, ensuring your textured tiles remain both beautiful and secure for everyday use.

OCEANCARE Products pH Neutral Tile & Stone Cleaner – Quart Trigger Spray Ready to Use
- All-purpose daily cleaner: Suitable for everyday use
- Safe for stone surfaces: Gentle on stone, tile, countertops
- No-rinse formula: Easy to clean without rinsing
As an affiliate, we earn on qualifying purchases.
As an affiliate, we earn on qualifying purchases.
How to Maintain Grout and Keep It Mold-Free
Grout lines are the dirt magnets of textured tile floors. Regular cleaning keeps mold and grime at bay, preserving both appearance and slip resistance. Start by brushing grout with a small grout brush or toothbrush dipped in a baking soda paste.
For deep cleaning, apply a grout-safe cleaner or a mixture of vinegar and water. Let it sit for 5-10 minutes, then scrub gently. Rinse with clean water and dry thoroughly.
Seal grout every 6-12 months to reduce porosity. Sealed grout resists staining and mold, making ongoing cleaning easier. Think of sealing grout like applying a protective coat on a new car—it creates a barrier that prevents dirt, mold spores, and water from penetrating deeply, which can significantly extend the intervals needed for cleaning and resealing. Proper maintenance reduces the risk of mold growth, which is especially important in damp environments, and helps preserve the textured surface’s safety features by preventing grime buildup that can cause slips.
Example: A homeowner notices dark spots in grout lines after heavy rain. Regular brushing and resealing restore the grout’s appearance and help prevent future mold growth.
Neglecting grout maintenance can lead to porous, stained, and mold-prone lines, which not only look unsightly but can also harbor bacteria and mold, compromising safety. Investing in sealing and regular cleaning creates a protective barrier that minimizes these risks and keeps your textured tiles looking and functioning like new.

Meuvcol Grout Sealer,17.6 OZ Waterproof Grout Sealer for Shower, Floor, Kitchen – 100% Safe Tile Sealer Spray – Long Lasting Clear Grout Sealant for Stone, Bathroom, Marble – Indoor & Outdoor
- Natural appearance with durability: Maintains look and enhances durability
- Superior stain resistance: Easily rinses off stains and dirt
- Non-toxic and odor-free: Safe for indoor use with no harsh smells
As an affiliate, we earn on qualifying purchases.
As an affiliate, we earn on qualifying purchases.
Preserve Slip-Resistance While Cleaning: Do’s and Don’ts
Cleaning textured tiles should prioritize safety. Use gentle tools and avoid aggressive scrubbing that can smooth out or damage the textured surface, reducing slip resistance. Always test cleaning solutions on a hidden corner first.
Here are key tips:
- Do use soft brushes and microfiber mops.
- Do dry the surface thoroughly after cleaning.
- Don’t use harsh chemicals like bleach or acidic cleaners unless approved by the manufacturer.
- Don’t use high-pressure washers without caution—low pressure is safer for delicate textures.
Imagine trying to clean a muddy shoe with a rough brush. Gentle is better. Proper maintenance preserves the textured surface’s grip and prevents accidental slips. Using abrasive tools or overly aggressive chemicals can wear down the textured surface or remove grout, both of which diminish slip-resistance. Consistent, gentle cleaning maintains the micro-texture that provides grip, rather than damaging it. This ensures safety is preserved even as dirt and grime are effectively removed, balancing cleanliness with safety considerations.
When to Reseal or Replace Your Textured Tiles
Over time, grout and even tiles can lose their slip-resistant qualities. If cleaning no longer restores the surface or grout looks worn, it might be time to reseal or replace.
Resealing grout every 6-12 months helps maintain its protective barrier against dirt, water, and mold, which are common culprits in degrading slip-resistance. When grout becomes porous or shows signs of cracking, it allows moisture and grime to penetrate, risking mold growth and surface deterioration. Replacing tiles should be considered if they become chipped, cracked, or heavily stained, especially if the damage affects their textured surface. Choosing new tiles with a textured, matte finish enhances long-term safety.
For example, a pool deck with worn grout and smooth patches on tiles might need new grout or even new textured tiles to keep it safe for barefoot swimmers. Regular maintenance and timely replacement ensure the textured surface retains its grip and appearance.
Always consult with a professional if you’re unsure whether tiles are damaged or if resealing will suffice to prevent unnecessary costs or safety hazards.
Frequently Asked Questions
How often should I clean textured or slip-resistant tiles?
Plan to sweep or vacuum weekly to remove loose dirt, and perform a deep clean with gentle tools and solutions once a month. High-traffic areas may need more frequent attention.
What cleaning products are safe for textured tiles?
Use pH-neutral cleaners, mild dish soap, or natural solutions like diluted vinegar and baking soda. Always test in a small hidden area first to ensure no damage occurs.
Can I steam clean textured tiles?
Yes, steam cleaning is safe and effective if used properly. It sanitizes the surface without harsh chemicals, helping lift dirt and mold from grooves.
How do I remove stubborn stains or mold?
Apply a baking soda paste or commercial mold remover, scrubbing gently with a soft brush. Rinse thoroughly and dry to prevent future growth.
When should I reseal or replace my textured tiles?
If cleaning no longer restores the surface or grout looks worn, resealing every 6-12 months or replacing tiles might be necessary to maintain slip-resistance and safety.
Conclusion
Keeping textured or slip-resistant tiles clean isn’t about harsh scrubbing or risky chemicals. It’s about gentle, consistent care with the right tools and products. When you treat your tiles right, they stay safe, durable, and looking fresh for years.
Remember: a little regular maintenance goes a long way in preserving safety and appearance. Think of your textured tiles as a trusted partner—cared for, they’ll always grip just right when you walk across them.