TL;DR
Preparing your floor before steam mopping involves clearing debris, checking surface compatibility, and dry cleaning. Proper prep boosts cleaning effectiveness and protects your floors from damage.
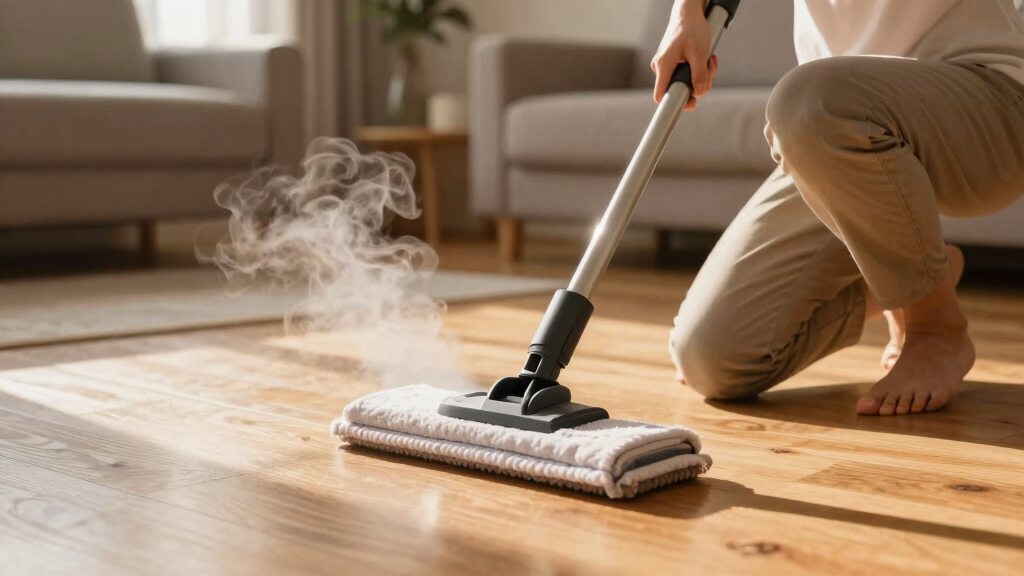
Imagine steam mopping your floor and seeing it shine like new. It’s satisfying—and effective—when your surface is perfectly prepped. But skipping simple steps can leave you with streaks, missed spots, or even damaged floors. This guide walks you through the exact prep to get the most out of every steam cleaning session, protecting your investment and making your home healthier.
Whether you’re tackling tile, laminate, or hardwood, knowing how to prepare your floor can turn a good clean into a great one. Let’s dive into the practical steps that set the stage for a spotless, damage-free finish.
Always remove furniture and obstacles to allow full access and prevent damage.
Sweep or vacuum thoroughly to remove loose dirt, preventing scratches or streaks.
Check your floor’s surface type and test small areas to avoid damage.
Pre-treat stains with appropriate cleaners for a spotless finish.
Use distilled water to prevent mineral buildup in your steam mop.
Clear the Clutter for a Smooth, Safe Clean
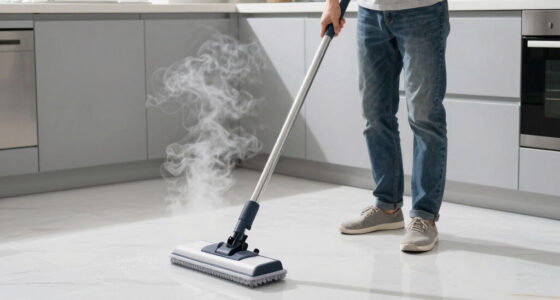
The first step is simple but crucial: remove furniture, rugs, and obstacles. Think of it like clearing a path for a race—nothing should block your way or get in the way of the steam mop. This prevents accidental damage and ensures every inch of your floor gets attention. Additionally, clutter can hide dirt and debris, which, if left in place, can scratch or stain your floors when disturbed by the steam. Clearing the area allows you to see any stubborn spots or spills that need targeted cleaning, leading to a more thorough and even result. Moreover, a clutter-free space minimizes the risk of tripping or knocking over objects during cleaning, making the process safer for you and your belongings. Creating this open space is about more than convenience—it’s about protecting your floors and ensuring a comprehensive clean that reaches every corner without interruption.
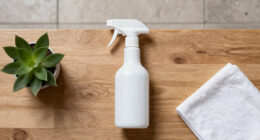
steam mop floor cleaner
As an affiliate, we earn on qualifying purchases.
As an affiliate, we earn on qualifying purchases.
Sweep or Vacuum—Don’t Skip This Step
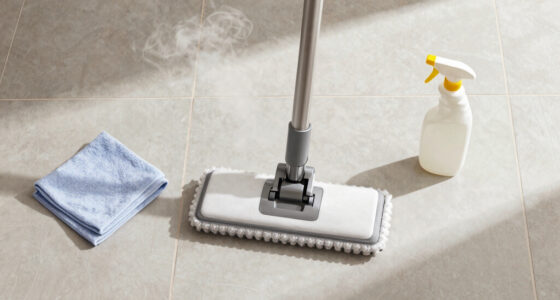
Thoroughly sweeping or vacuuming before steam cleaning isn’t just about removing visible dirt; it’s about preventing microscopic debris from causing long-term damage. Dust, dirt, and tiny particles are abrasive and can embed into your flooring when steam is applied, which can lead to scratches, streaks, or dullness over time. For example, on high-traffic areas like entryways or kitchens, residual debris can be particularly stubborn. Vacuuming or sweeping ensures these particles are lifted away, allowing the steam to focus solely on sanitizing and cleaning the surface itself. This step is especially critical for surfaces like vinyl or laminate, where embedded debris can cause scratches that diminish the floor’s appearance and lifespan. Think of it as preparing a clean canvas—removing every speck of dirt ensures your cleaning effort results in a smooth, streak-free shine. Skipping this step might save time initially but can compromise the integrity and look of your flooring in the long run.

Steam & Go Demineralized Water for Steam Mop – Clean Ocean Scent, 128 fl oz (1 gal) | Scented Floor Cleaner Solution, Ready-to-Use, Compatible with Any Steam Cleaner
PREVENTS LIMESCALE BUILDUP: Our formula stops mineral deposits before they clog your steam mop and reduce performance. It…
As an affiliate, we earn on qualifying purchases.
As an affiliate, we earn on qualifying purchases.
Check Your Floor Type — Is It Safe for Steam Cleaning?
Understanding your floor’s material and finish is essential because steam cleaning can cause damage if not appropriate. For example, sealed hardwood, tile, and vinyl are generally designed to withstand the moisture and heat from steam mopping. However, unsealed wood, certain natural stones, or delicate surfaces like painted floors may absorb water or heat differently, leading to warping, staining, or deterioration. Performing a small test—placing a damp cloth or a small amount of steam on a hidden section—can reveal whether your floor reacts adversely. If the surface shows signs of swelling, discoloration, or damage, it indicates that steam cleaning isn’t suitable for that material. This step is about more than avoiding damage; it’s about understanding the tradeoffs involved. Using steam on incompatible surfaces can lead to costly repairs or replacements, so knowing your floor type helps you weigh the benefits of deep cleaning against potential risks. Always consult your manufacturer’s guidelines or perform a patch test to make informed decisions and protect your investment.
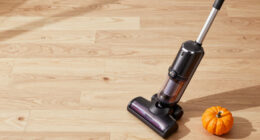
floor cleaning tools vacuum and broom
As an affiliate, we earn on qualifying purchases.
As an affiliate, we earn on qualifying purchases.
Pre-Treat Stains and Spots for a Flawless Finish
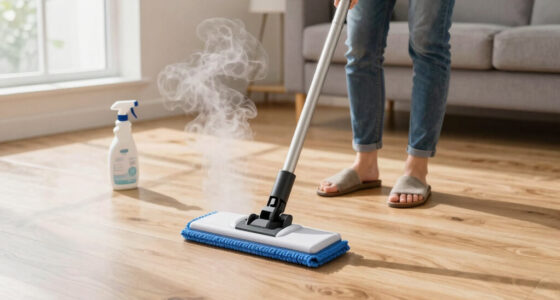
Stubborn stains like wine, coffee, or grease often require more than just steam to lift completely. Pre-treating these spots with appropriate cleaners ensures they are loosened and lifted before the steaming process. For example, applying a gentle vinegar solution or a specialized stain remover on a tiled surface can break down the stain’s bond with the surface, making steam cleaning more effective. For hardwood floors, use a mild cleaner suitable for sealed wood to prevent further staining or damage. The importance of pre-treatment lies in its ability to prevent dirt from spreading or setting deeper into the surface during steaming, which can make stains permanent or more difficult to remove later. Think of pre-treating as giving your cleaning process a head start—addressing problem spots beforehand ensures a more uniform, spotless finish. Ignoring this step can lead to persistent stains that become embedded or more visible after cleaning, undermining your efforts for a pristine floor.
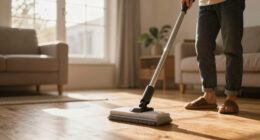
floor surface compatibility tester
As an affiliate, we earn on qualifying purchases.
As an affiliate, we earn on qualifying purchases.
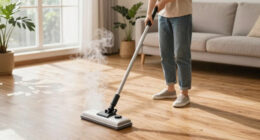
Ensure Floors Are Dry and Free of Excess Water
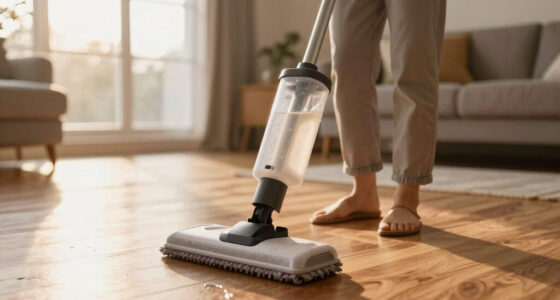
Moisture trapped beneath the surface during cleaning can cause long-term damage, such as warping, swelling, or mold growth, especially on sensitive floors like hardwood or laminate. After sweeping or vacuuming, wiping the surface with a dry cloth or mop removes residual moisture, creating a dry, stable environment for steam cleaning. This step is vital because steam mops introduce additional moisture; if the floor is already damp, it can exacerbate issues like buckling or warping. For instance, on a hardwood floor, excess water can seep into seams and cause the wood to swell or crack. Ensuring your floor is dry isn’t just about preventing immediate damage; it’s about maintaining the integrity and appearance of your flooring over time. Think of it as setting a firm foundation before building—without a dry surface, the risk of damage increases significantly, and your cleaning efforts may backfire, leading to costly repairs.
Set Up Your Steam Mop for Success
Proper setup of your steam mop is key to achieving optimal cleaning results and prolonging the lifespan of your equipment. Filling the water tank with distilled or demineralized water prevents mineral deposits from forming inside the device, which can clog the system and reduce steam output over time. Following your manufacturer’s instructions—such as using recommended water types and filling to specified levels—ensures your mop operates efficiently. Attaching clean, damp microfiber pads properly is equally important; loose or improperly attached pads can slip or cause streaks. A well-prepared mop not only performs better but also reduces maintenance needs and extends its service life. For example, using tap water in areas with hard water can lead to mineral buildup, which causes streaks and diminishes cleaning power. Investing a few minutes in proper setup can make the difference between a mediocre clean and a thorough, streak-free shine that lasts.
Compare Surface Compatibility Before You Steam
| Floor Type | Suitable for Steam? | Notes |
|---|---|---|
| Sealed Hardwood | Yes | Check manufacturer guidelines, test small area first |
| Unsealed Wood | No | Moisture can cause warping or damage |
| Tile & Vinyl | Yes | Generally safe, but verify surface condition |
| Unsealed Stone | No | Moisture can stain or damage |
Frequently Asked Questions
Can I use tap water in my steam mop?
Using tap water can cause mineral deposits over time, especially in hard water areas. It’s better to use distilled or demineralized water to keep your mop functioning smoothly and prevent streaks.How do I know if my hardwood floor can handle steam cleaning?
Check if your hardwood is sealed and finished properly. If unsure, test a small hidden patch with steam and wait 24 hours. If there’s no warping or damage, it’s likely safe to proceed.What’s the biggest mistake people make when prepping floors for steam mopping?
Many skip the sweeping or vacuuming step, leaving dirt that can cause scratches or streaks. Also, not verifying surface compatibility can lead to costly damage—always check your floor type first.Should I pre-treat stains before steaming?
Yes. Stubborn stains, like wine or coffee, often need a little pre-treatment with mild cleaners. This ensures they lift more easily during steaming, leaving your floor truly spotless.How often should I steam mop my floors?
It varies depending on foot traffic, but generally once a week keeps your floors healthy and shiny. Adjust frequency based on household activity and floor type.Conclusion
Preparing your floor before steaming isn’t just a step—it’s the foundation of a truly clean, damage-free surface. A few quick actions—clearing, vacuuming, testing—pay off with sparkling floors and a longer-lasting mop.
Think of it like warming up before a run. Do it right, and your floors will thank you with every shine.