TL;DR

Get cleaning gear delivered free — and shop member deals
- Fast, free delivery on millions of items
- Access to Prime Big Deal Days deals on October 6–7
- Prime Video, Amazon Music and more included
Deep cleaning floors once a season keeps them looking fresh and prolongs their life. The right method depends on the flooring material, finish, and manufacturer instructions. Avoid over-wetting and always test first.
Imagine a floor that feels like new, under your feet—clean, smooth, and free of hidden grime. That’s the goal of a seasonal deep clean. It’s not just about appearance but about protecting your investment and keeping your home healthy.
But every floor surface is different. Wood, vinyl, tile—each demands a tailored approach. Using the wrong cleaner or method can do more harm than good. This guide walks you through a practical, surface-specific plan to deep clean your floors safely once a season.
Always identify your floor type before choosing cleaning methods or products.
Remove all loose dirt and debris first to prevent scratches and dullness.
Control moisture carefully—damp, not soaked, mops protect your floor’s finish.
Follow manufacturer instructions and test cleaners in hidden spots first.
Deep clean seasonally, but adapt frequency based on your home’s traffic and conditions.
The seasonal home-care guide
How to Deep Clean Your Floors Once a Season
Lift embedded dirt, clear away residue, and care for the finish beneath your feet. Start with the surface, choose its approved method, and keep moisture under control.
Adjust the schedule for traffic, pets, and weather.
Match care to the material and its protective finish.
Move from inspection to prevention.
Remove excess moisture promptly.
01 / The seasonal routine
A fresh start, in seven steps.
Prepare first, then clean in manageable sections. Grit removal and careful drying matter just as much as the product you choose.
-
Inspect & identify
Confirm the material and finish. Look for stains, loose seams, worn areas, and damage before adding moisture.
-
Clear the space
Remove rugs and lift movable furniture safely. Protect the floor while moving items; avoid dragging.
-
Remove dry soil
Sweep or vacuum with a suitable attachment. Include corners, baseboards, thresholds, and accessible areas beneath furniture.
-
Spot-treat marks
Test a compatible cleaner in a hidden area first. Follow its dilution and contact-time instructions.
-
Work in sections
Use the surface-approved method below. Change dirty pads or solution so you lift soil instead of spreading it.
-
Dry completely
Remove excess moisture promptly. Return rugs and furniture only once the floor is fully dry.
-
Prevent buildup
Clean entry mats, check furniture pads, and keep up regular sweeping or vacuuming between seasonal cleans.
-
Schedule check
Let the floor set the pace.
Quarterly cleaning is a reminder, not a universal requirement. Adjust to actual soil and care guidance.
02 / Surface-specific care
Same goal. Different methods.
Appearance alone cannot tell you what a floor tolerates. Check the material, finish or sealer, and manufacturer guidance together.
| Floor type | Seasonal cleaning approach | Main precautions |
|---|---|---|
| Sealed hardwoodFinish compatibility matters | Vacuum gently, then use a finish-compatible cleaner with minimal moisture and a suitable mop or cloth. | Avoid soaking and abrasive tools. Use steam only if expressly approved for the flooring. |
| LaminateProtect the joints | Remove grit; damp-clean sparingly with an approved product where permitted. Dry remaining moisture promptly. | Keep water out of seams. Avoid wax and abrasive pads. |
| Vinyl & LVPLuxury vinyl plank | Vacuum, then clean with a compatible solution and soft mop. Work gently into textured areas. | Avoid unapproved steam, solvents, and abrasive scrubbers. Follow the floor’s moisture limits. |
| Ceramic & porcelainInclude the grout | Vacuum, mop with a compatible cleaner, and clean grout with a suitable gentle brush. | Grout and sealers may need different care from the tile. Avoid harsh acids. |
| Natural stoneMatch both stone and sealer | Use a stone-safe cleaner compatible with the specific stone and any sealer; follow its care directions. | Vinegar and other acids can etch acid-sensitive stone, including marble and limestone. |
| Carpet & rugsCheck fiber instructions | Vacuum thoroughly, treat spots appropriately, and use an approved deep-cleaning method when needed. | Avoid over-wetting and ensure complete drying. Specialty rugs may need professional care. |
Unknown or unsealed surface? Remove dry soil first. Confirm its care requirements before applying cleaner, water, wax, or polish.
03 / The moisture checkpoint
Deep clean. Light touch.
More water and more detergent do not guarantee a cleaner floor. Control both to protect finishes, seams, and adhesives.
Lift loose grit and dust before applying any liquid.
Use a well-wrung mop and clean small sections.
Stop and remove excess moisture promptly.
This is a care sequence, not a measured water-tolerance scale. Your floor’s instructions set the limit.
Measure the cleaner
Follow the stated dilution. Extra detergent can leave a sticky or dull film that attracts dirt.
Rinse only as directed
Follow both product and flooring instructions. An unnecessary rinse adds moisture.
Check as you go
Watch seams and edges for lingering moisture. Dry each area as needed before moving on.
04 / Avoid the common traps
Protect the finish you have.
A successful seasonal clean removes soil without creating a new problem. Skip universal remedies and separate maintenance from repair.
“Vinegar works on every floor.”
Its acidity can etch certain stones and may be unsuitable for some finishes. Choose a surface-approved product instead.
“Scrubbing harder gets it cleaner.”
Abrasive pads and powders can scratch or dull surfaces. Use compatible tools and only the cleaner’s specified contact time.
“Another mop will fix the damage.”
Cleaning cannot repair deep scratches, worn finishes, loose grout, or water damage. These need separate assessment.
Remove dust, soil, spots, and residue. Use the approved method to care for the existing surface.
Assess worn finish or physical damage. Waxing, polishing, sealing, and refinishing are material-specific tasks, not automatic next steps.
The decision chain / follow before every seasonal clean
How to Identify Your Floor Before Deep Cleaning
Knowing what kind of floor you have is the first step. Hardwood, laminate, vinyl, tile, and stone all have different needs. Even floors that look alike can have different finishes or moisture limits. If you’re unsure, start with dry cleaning—vacuum or sweep—and check for any labels or manufacturer instructions.
For example, a hardwood floor with a satin finish may tolerate different cleaning methods than a high-gloss laminate. When in doubt, test a small hidden area with a gentle cleaner first. That way, you avoid costly mistakes and keep your floors safe.
As an affiliate, we earn on qualifying purchases.
Remove Loose Dirt Before Wet Cleaning — The First Step
Start by clearing dust, grit, and hair. Use a vacuum with a soft brush attachment for hardwood and laminate, or a broom for textured surfaces. Pay attention to corners, edges, under furniture, and baseboards. Grit is a tiny scratch maker, and wetting loose dirt makes it harder to remove later.
Removing loose debris is crucial because it directly impacts the effectiveness of your cleaning process. If you skip this step, the dirt can act like tiny abrasives during mopping, scratching and dulling your floors over time. Proper pre-cleaning preserves the finish, prevents premature wear, and ensures that the subsequent wet cleaning is truly effective.
Think of this step as setting a clean stage for your deep cleaning — if the surface is dirty beforehand, no matter how carefully you mop, you’ll just be spreading grime around or trapping dirt beneath the surface. This initial removal reduces the risk of scratches and ensures that your subsequent cleaning is more efficient and less damaging.
floor cleaning solutions for hardwood and tile
As an affiliate, we earn on qualifying purchases.
As an affiliate, we earn on qualifying purchases.
Control Moisture — The Key to Safe Deep Cleaning
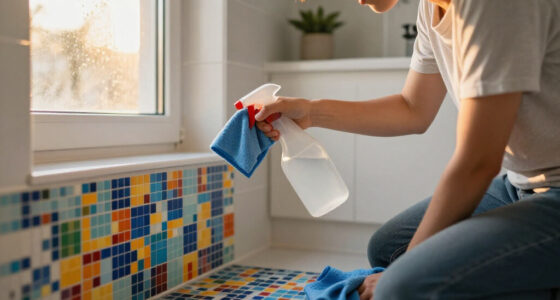
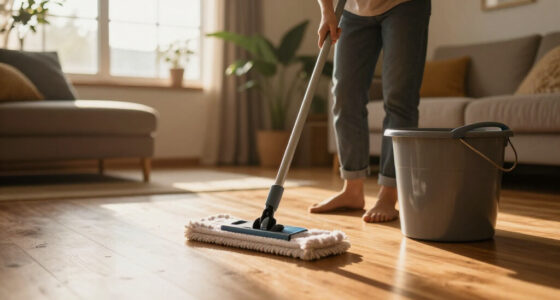
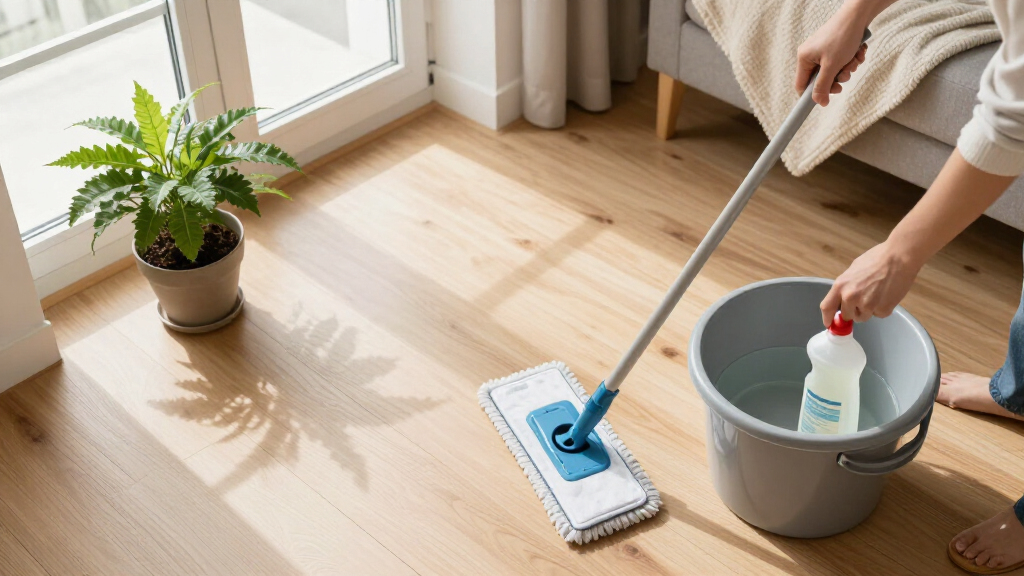
Deep cleaning doesn’t mean soaking the floor. Too much water can damage wood, warp laminate, or seep into seams. Use a well-wrung mop or cloth. For most surfaces, damp is enough, and any remaining moisture should dry quickly.
Imagine mopping a hardwood floor with a bucket of water. The finish could bubble or peel, causing irreversible damage. Instead, wring out the mop thoroughly and mop in sections, drying each as you go. This approach ensures that minimal water contacts the surface, reducing the risk of water infiltration that can cause swelling, warping, or mold growth beneath the surface.
Controlling moisture is about balancing cleaning efficacy with preservation. Excess water can penetrate tiny cracks and seams, especially in older or poorly sealed floors, leading to long-term damage that may not be immediately visible. By using minimal water and ensuring quick drying, you extend the lifespan of your floors and maintain their appearance and structural integrity for years to come.
As an affiliate, we earn on qualifying purchases.
Choose the Right Cleaner and Dilution for Each Floor
Using the correct cleaner is essential. Follow the manufacturer’s instructions, and test in a hidden spot first. Excess cleaner can leave sticky residue or dull the finish. For example, a gentle pH-neutral cleaner works well on sealed hardwood and vinyl, while stone needs a pH-balanced, stone-safe solution.
Choosing the right cleaner isn’t just about effectiveness; it’s about preventing long-term damage. Harsh chemicals or improper dilutions can strip finishes, cause discoloration, or weaken sealants. For instance, using an acidic cleaner on natural stone can etch the surface, creating dull spots or weakening the material over time. Conversely, using overly strong alkaline cleaners on delicate surfaces can cause swelling or discoloration. Properly diluted, mild cleaners ensure thorough cleaning without sacrificing the integrity of your flooring materials. This careful selection helps maintain the appearance and durability of your floors, avoiding costly repairs or refinishing down the line.
As an affiliate, we earn on qualifying purchases.
Know When to Separate Cleaning from Restoration Tasks
Cleaning removes surface dirt, but it won’t fix scratches, worn finishes, or water damage. Think of cleaning as maintenance, not repair. If your floor has deep scratches or worn areas, consider refinishing or sealing instead of just cleaning.
For example, waxing a dull hardwood floor won’t fix deep scratches; it might just make the problem more noticeable. Recognizing when to call in a professional for repairs is part of caring for your floors correctly. Restorative tasks like sanding, sealing, or re-staining involve more intensive work that can restore or even improve the floor’s appearance and longevity. Neglecting this distinction can lead to wasted effort on superficial cleaning that doesn’t address underlying issues, which may worsen over time, causing more costly repairs. Understanding when cleaning ends and restoration begins is key to maintaining beautiful, durable floors.
Seasonal Cleaning Approaches by Floor Type
| Floor Type | Deep Cleaning Approach | Main Precautions |
|---|---|---|
| Sealed hardwood | Vacuum gently; use a finish-compatible cleaner with minimal moisture | Avoid soaking, abrasive tools, and steam unless expressly approved |
| Laminate | Remove grit; damp-clean sparingly with approved product; dry promptly | Keep water out of joints; avoid wax and abrasive pads |
| Vinyl & LVP | Vacuum; clean with compatible solution and soft mop; address textured areas gently | Avoid unapproved steam, solvents, and abrasive scrubbers |
| Ceramic/Porcelain Tile | Vacuum; mop with suitable cleaner; scrub grout with a gentle brush | Be careful with grout and sealers; avoid harsh acids |
| Naturally, Stone | Use a stone-safe, pH-balanced cleaner compatible with sealers | Avoid vinegar, acids, and harsh chemicals that can etch the surface |
Step-by-Step Seasonal Floor Cleaning Routine
- Inspect your floors for damage, stains, or loose seams. Make notes or take photos.
- Clear all furniture and protect edges with padding or plastic sheets.
- Thoroughly vacuum or sweep to remove loose dirt and debris.
- Spot-treat any stains or marks with an appropriate cleaner and let it sit for the recommended time.
- Damp-mop small sections at a time, using a well-wrung mop or cloth, following surface-specific guidance.
- Dry each section immediately with a clean, dry cloth or towel to prevent water damage.
- Replace rugs and furniture only after the floor is completely dry.
- Check entry mats, replace worn pads, and perform routine maintenance to reduce future buildup.
Common Misconceptions and Mistakes to Avoid
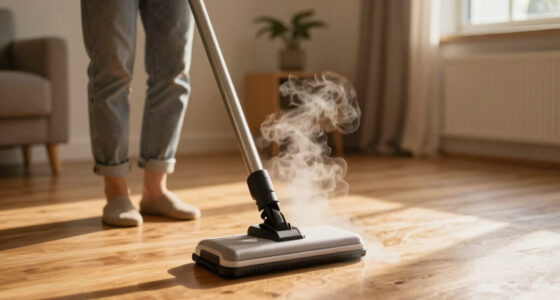
Many believe vinegar or baking soda can be a universal cleaner. That’s not true. Vinegar’s acidity can damage natural stone, and baking soda might scratch softer surfaces. Also, steam mops aren’t safe for all floors—heat and moisture can harm finishes and adhesives.
Another myth: over-wetting floors is harmless. It’s not. Excess water can cause swelling, warping, or peeling—especially on wood and laminate. Remember, always follow manufacturer guidance and test first.
Latest Trends in Floor Care You Should Know
New tools and products aim to make seasonal deep cleaning easier and safer. Vacuum-and-mop machines are popular for sealed floors, but their water output and brushes matter. Robot mops can handle daily maintenance, freeing you for bigger projects once a season.
Water-resistant flooring options are rising. They tolerate moisture better but still need gentle cleaning. Reusable pads and concentrated cleaners help reduce waste, but correct dilution and cleaning are still essential for effectiveness and safety.
Your Burning Questions About Floor Deep Cleaning Answered
How often should I deep-clean my floors? Usually once every three to four months, but it depends on traffic, pets, and weather. Heavy use or muddy seasons might require more frequent attention.
What is the safest way to identify my floor’s material? Check for labels, consult installation guides, or contact the manufacturer. When in doubt, start with dry cleaning and test a small area.
Can I use vinegar or baking soda? Use vinegar cautiously—safe for some surfaces, damaging to others. Baking soda can scratch softer floors. Always test first and follow surface-specific advice.
Is steam cleaning safe for my floors? It depends. Some sealed surfaces tolerate it, but heat and moisture can damage wood and laminate. Always check manufacturer guidance.
Why does my floor feel sticky after cleaning? Residue from excess detergent or improper rinsing causes stickiness. Use minimal cleaner, rinse if needed, and dry thoroughly.
Conclusion
Deep cleaning your floors once a season isn’t just about sparkle. It’s about being gentle yet thorough—protecting your investment while keeping your home healthy. Think of it as giving your floors a spa day, tailored for their material and finish.
Remember, the right approach depends on knowing your surface, controlling moisture, and using proper cleaners. With a little effort, your floors will thank you with long-lasting beauty and resilience. So, set a reminder, gather your supplies, and give your floors the care they deserve.
Fall Picks
fall essentials
As an affiliate, we earn on qualifying purchases.