TL;DR

Get cleaning gear delivered free — and shop member deals
- Fast, free delivery on millions of items
- Access to Prime Big Deal Days deals on October 6–7
- Prime Video, Amazon Music and more included
Steam mopping tile floors offers a chemical-free way to clean and sanitize. Using the right equipment and technique ensures your tiles stay beautiful and undamaged. Regular, proper care extends your floor’s life.
Who needs harsh chemicals when you can clean your tile floors with just steam? A good steam mop can transform sticky, grimy tiles into a sparkling surface — without risking damage or introducing toxins. But using it correctly makes all the difference. You want your floors to be spotless, sanitized, and safe for everyone in the household. That’s what this guide is about.
In the next few minutes, you’ll learn how to choose the right steam mop, prep your tiles properly, and master the technique that makes cleaning effortless. Whether you’re new to steam mopping or want to sharpen your skills, these practical tips will help you get professional results—right at home.
Always test your tiles first to check compatibility with steam cleaning.
Use a steam mop with adjustable steam settings for delicate or porous tiles.
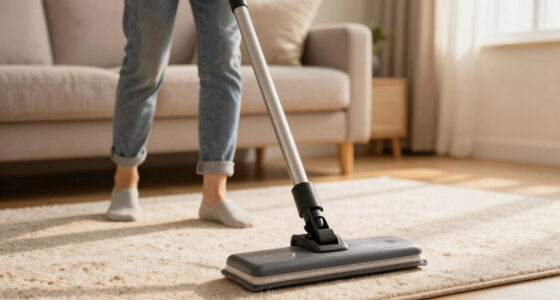
Pre-sweep or vacuum to prevent scratches and smudging during steaming.
Move slowly and overlap strokes to ensure thorough cleaning without damage.
Regularly clean and descale your steam mop to maintain peak performance.
Pick the Right Steam Mop for Tile Floors — What Features Matter Most
Choosing the right steam mop is the first step. Not all models are created equal. Look for adjustable steam controls to prevent over-saturating delicate tiles. A large water tank means fewer refills, especially for bigger areas. Swivel heads help you get into corners and grout lines easily. If your tiles are textured or have grout, consider attachments designed for grout cleaning or narrow crevice tools.
Remember, compatibility is key. Some steam mops are better suited for tile than others. Always check your floor type against the manufacturer’s recommendations. Testing in a hidden corner first saves surprises later.
As an affiliate, we earn on qualifying purchases.
Prep Your Floors for a Deep Clean — The Step-by-Step
- Start by sweeping or vacuuming to pick up loose dirt, sand, or pet hair. This stops debris from scratching your tiles during mopping.
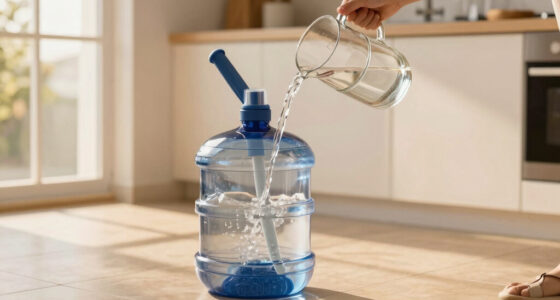
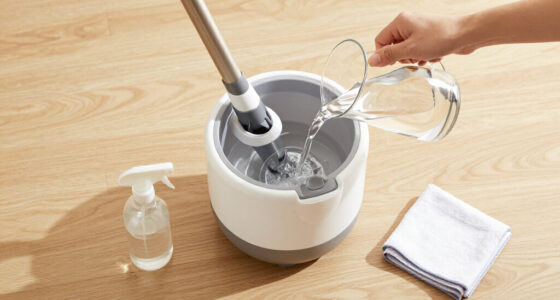
- Check your manufacturer’s instructions for your steam mop. Some require filling with distilled water to prevent mineral buildup.
- Spot clean stubborn stains or sticky spots with a damp cloth first. Steam works best on loosened grime.
- Ensure your floor is dry and free of any loose debris before steaming. Wet floors can cause slipping and uneven cleaning.
adjustable steam mop for delicate tiles
As an affiliate, we earn on qualifying purchases.
As an affiliate, we earn on qualifying purchases.
How to Steam Mop Tile Floors Without Damaging Them
Steam mopping tile floors is safe when done correctly, but too much heat or moisture can cause damage. The key is understanding how excess heat and water interact with different tile surfaces. Overexposure to high heat can cause grout to discolor or crack, especially if it’s unsealed or fragile. Excess moisture may lead to grout deterioration over time or promote mold growth beneath the tiles. Moving the mop steadily and avoiding prolonged stays in one spot helps prevent these issues. Using a lower steam setting on sensitive tiles reduces the risk of thermal stress and moisture damage, ensuring longevity of your surfaces and maintaining their appearance. These precautions are essential to balance cleanliness with surface integrity, especially in older or delicate tiled areas.
- Set your steam mop to a low or medium setting—avoid high steam on sensitive tiles.
- Move slowly and deliberately, allowing steam to loosen dirt without saturating the floor.
- Overlap each pass slightly to cover every inch without retracing over the same spot multiple times.
- Keep the mop moving—staying in one spot too long can lead to water pooling or grout discoloration.
Understanding why these precautions matter helps prevent costly repairs or tile replacements in the future. Excessive heat can cause grout to crack or discolor, especially if it’s unsealed or fragile, which compromises the structural integrity and aesthetic of your floor. Too much moisture can seep into grout lines or underneath tiles, fostering mold or causing tiles to loosen. Moving the mop steadily and avoiding prolonged contact with one spot minimizes these risks. Using a lower steam setting on sensitive tiles isn’t just about preventing immediate damage; it’s about preserving the long-term health of your flooring. This careful approach ensures your cleaning efforts don’t inadvertently lead to costly repairs or diminished tile appearance over time.
steam mop with grout cleaning attachments
As an affiliate, we earn on qualifying purchases.
As an affiliate, we earn on qualifying purchases.
Compare Common Floor Types & How They Handle Steam Cleaning
| Floor Type | Suitability for Steam | Tips & Warnings |
|---|---|---|
| Glazed Ceramic Tile | Excellent | Safe for regular steaming. Just avoid excessive moisture on grout lines. |
| Porcelain Tile | Excellent | Durable, but test a small area first if grout is fragile or unsealed. |
| Unglazed Terracotta | Use with caution | Porous and fragile. Excessive heat can cause cracking or staining. Test first. |
| Vinyl or LVP | Not recommended | High heat can warp or peel vinyl. Always check manufacturer instructions. |
As an affiliate, we earn on qualifying purchases.
Master the Technique — Easy Steps for a Flawless Finish
To get that professional shine, follow this simple process:
- Start at the farthest corner of the room. Work your way out to avoid stepping on cleaned areas.
- Hold the mop at a slight angle. Let the steam do the cleaning—don’t press down hard.
- Use slow, steady passes, about 1–2 feet per second. This gives steam time to loosen dirt and grime.
- For grout lines, switch to a narrow attachment or use the mop tip to really target the crevices.
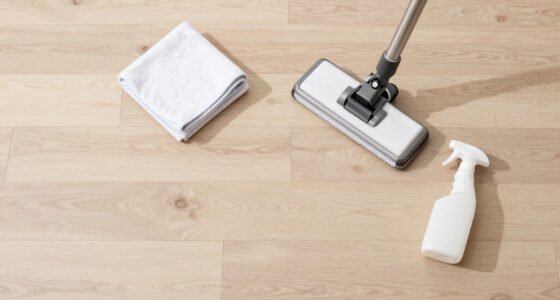
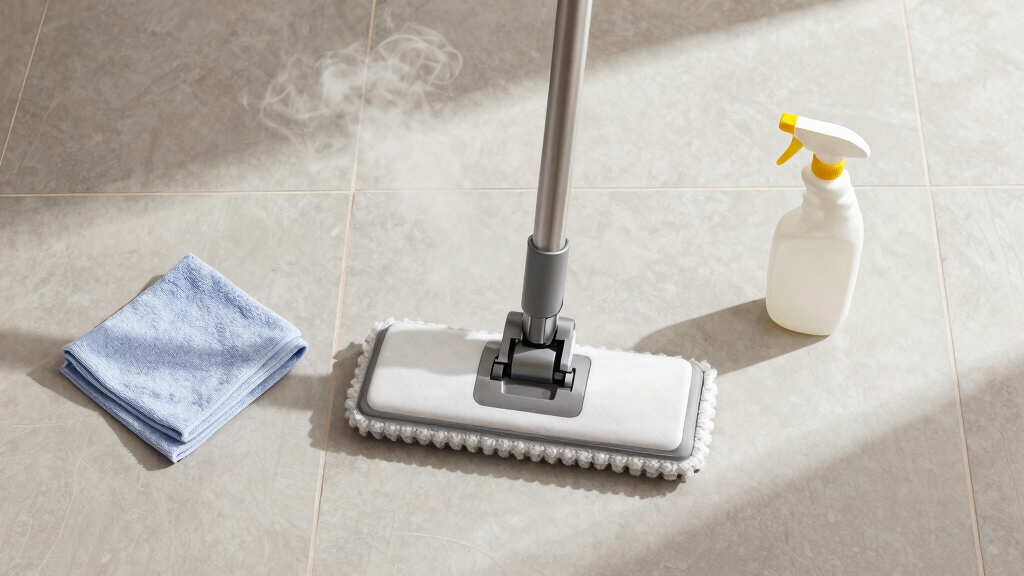
- Dry the floor with a microfiber cloth if you want an extra shiny finish or if the tiles feel damp.
Post-Clean Care: Keep Your Floors Looking Fresh
After steaming, let your tiles air dry or buff with a clean microfiber cloth to speed up the process. Avoid walking on the floor until it’s dry to prevent new dirt from settling.
Regular maintenance helps keep grout lines bright and tiles looking new. Consider sealing grout every 1–2 years. This prevents stains and discoloration, making future cleaning easier.
And don’t forget to clean your steam mop! Descale it monthly if you have hard water, and replace any worn brushes or pads. A well-maintained mop is your secret to consistent results.
Frequently Asked Questions
Is steam mopping safe for all types of tile floors?
Most glazed and porcelain tiles handle steam well, but delicate or unsealed tiles may crack or stain. Always test a small hidden area before full cleaning and check your tile manufacturer’s guidance.How often should I steam mop my tile floors?
Once a week works for most households, especially in high-traffic areas. Adjust based on foot traffic, pets, and household conditions. Regular cleaning keeps tiles looking fresh and prevents grime buildup.Can I use cleaning solutions with my steam mop?
Many steam mops are designed to clean with just water, which is safest for tiles. Some models allow a small amount of cleaning solution—always follow the manufacturer’s instructions to avoid damage, especially to grout.Will steam mopping remove stubborn stains or grout discoloration?
Steam helps loosen dirt and stains but may not fully remove deep-set stains. For tough grout discoloration, consider sealing grout or using a specialized grout cleaner after steaming.What precautions should I take to keep grout looking bright?
Regular cleaning, sealing grout lines every 1–2 years, and avoiding excessive moisture helps maintain their color. Always dry thoroughly after steaming to prevent mold or staining.Conclusion
Steam mopping tile floors can turn a tiring chore into a quick, satisfying routine—when done right. Focus on the right equipment, proper prep, and careful technique. Your tiles will thank you with a long, bright life, free from chemicals and grime.
Remember, patience and a gentle touch produce the best results. Now, grab your steam mop and turn your tiled space into a sparkling showcase—pro style, with zero fuss.
Halloween Picks
halloween
As an affiliate, we earn on qualifying purchases.