TL;DR

Get cleaning gear delivered free — and shop member deals
- Fast, free delivery on millions of items
- Access to Prime Big Deal Days deals on October 6–7
- Prime Video, Amazon Music and more included
Replacing a steam mop’s heating element can be a cost-effective fix if you’re comfortable with basic electrical work. However, consider the device’s age, part availability, and safety before attempting repairs. Sometimes, replacing the whole unit is smarter.
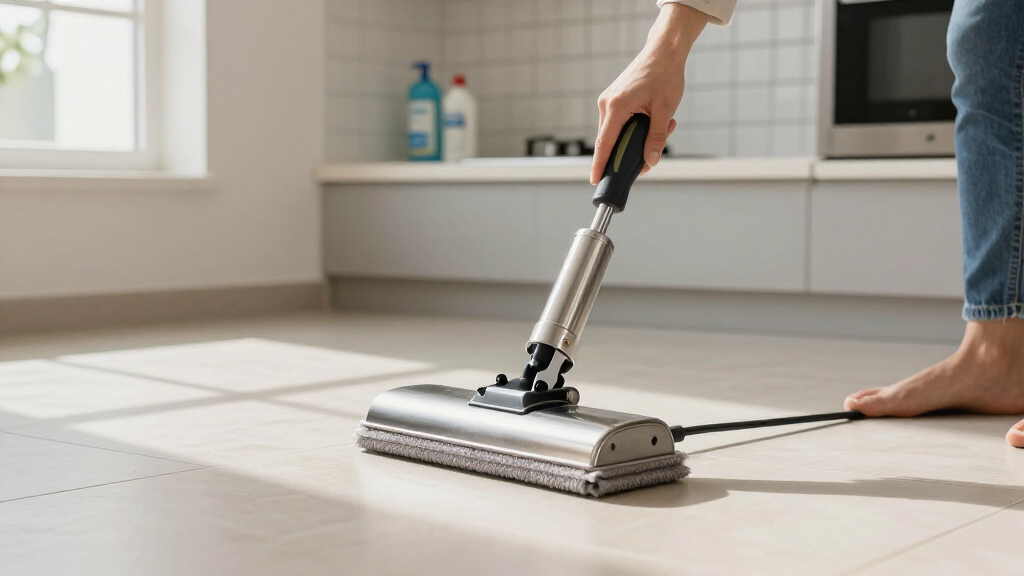
Imagine steaming away stubborn stains on your kitchen tiles when suddenly, no steam appears. You check the device, and it’s not heating anymore. That’s a common frustration. But before tossing it out, you might wonder: should I try to replace the heating element? This guide breaks down what you need to know to make that call.
If your steam mop suddenly stops producing steam, it’s tempting to think a quick fix will do. But replacing the heating element isn’t always straightforward. It involves safety precautions, understanding your model, and weighing repair costs against buying new. Whether you’re handy or not, knowing the ins and outs helps you make the smartest choice for your cleaning routine.
A heating element typically lasts 1-3 years, but new models with modular parts make replacement easier.
Signs of failure include no steam, inconsistent heating, or visible damage—check these before attempting repair.
DIY replacement is possible with proper safety precautions, but always follow manufacturer instructions.
Compare repair costs against the price of a new steam mop—sometimes replacement is more cost-effective.
Prioritize safety—unplug, cool down, and work in dry conditions. When in doubt, hire a professional.
What Does a Heating Element Do, and Why It Fails
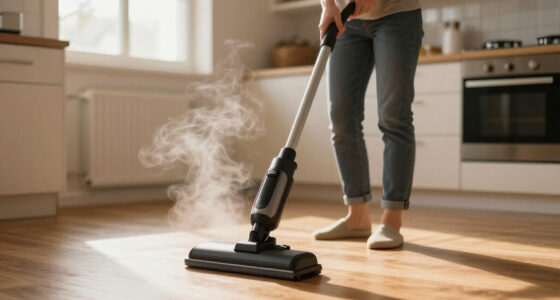
The heating element is the core that heats water into steam. When it works, it’s like a tiny, powerful kettle bubbling inside your mop. If it fails, your mop heats but refuses to produce steam, or it might emit strange smells or noises.
Understanding why it fails is crucial because it affects your repair strategy. For example, mineral buildup from hard water can insulate the element, causing it to overheat and burn out faster. Corrosion or physical cracks damage the element’s ability to conduct electricity, rendering it useless. Recognizing these signs early can prevent further damage to your device and save you money in the long run. Knowing the cause also helps you decide whether a simple replacement suffices or if more extensive repairs are needed, ensuring you don’t waste time or resources on ineffective fixes.
steam mop heating element replacement
As an affiliate, we earn on qualifying purchases.
As an affiliate, we earn on qualifying purchases.
How to Tell if Your Heating Element Is Really Broken
- Check if the mop heats up without producing steam. If it heats but no steam escapes, the element might be faulty. This indicates the element heats water but perhaps the steam outlet or nozzle is blocked or damaged, or the element isn’t reaching the necessary temperature. It’s important because a faulty element may still heat, but the overall system isn’t functioning properly, reducing cleaning effectiveness.
- Listen for unusual noises during operation—buzzing or sizzling sounds can signal an issue. These sounds often indicate electrical arcing or overheating, which can cause further damage or pose safety risks if ignored.
- Look for visible damage—cracks, corrosion, or burnt spots on the element if accessible. Visible damage is a clear sign the component has failed, but sometimes damage is internal and not visible, so don’t rely solely on appearance.
- Test the device after unplugging—if it doesn’t heat up at all, the element or its connections could be dead. Using a multimeter to check continuity can confirm if the element is broken, providing a definitive diagnosis rather than guesswork.
- Confirm with the manufacturer’s troubleshooting guide for your model. Different models may have specific indicators of failure, such as error codes or diagnostic lights, which can help determine if the element is at fault.
For example, a homeowner discovered her mop heated but didn’t steam after two years. A quick visual inspection revealed corrosion around the heating coil, confirming it was time for a replacement. Recognizing these signs early can prevent complete device failure and ensure you replace the right part.
Knowing these signs helps you decide whether to attempt a DIY fix or call in a pro. Understanding the implications of each symptom allows for more accurate troubleshooting, saving time and avoiding unnecessary repairs or replacements.
As an affiliate, we earn on qualifying purchases.
Can You Replace the Heating Element Yourself? Yes, But Proceed with Caution
Replacing the heating element is doable for those comfortable with basic electrical tasks. Many models are designed for user-serviceability, especially newer ones with modular parts. But it’s not a project for everyone. The key is understanding your device’s construction and safety precautions because improper handling can lead to electrical shock or further damage.
Before starting, unplug the mop, let it cool, and gather your tools—screwdrivers, pliers, and maybe a multimeter. Always consult your user manual; some brands include step-by-step guides that highlight specific risks or procedures. This preparation minimizes mistakes and ensures you handle the repair correctly.
Remember: water and electricity are a dangerous mix. If you’re unsure or uncomfortable, it’s safer to hire a professional. Weigh the potential cost savings against the risks of improper repair, which can lead to safety hazards or more costly damage down the line.
For instance, a DIY enthusiast replaced her heating element in under 30 minutes, saving money and extending her mop’s life. But she followed all safety steps meticulously, including disconnecting power, working in a dry environment, and testing connections thoroughly. This careful approach reduces risks and ensures a successful repair.
As an affiliate, we earn on qualifying purchases.
Frequently Asked Questions
Can I replace the heating element myself?
Yes, if you have basic electrical skills and your model is designed for user repair. Always unplug the device, follow safety steps, and consult your manual.How do I know if the heating element is broken?
Look for no steam, inconsistent heating, or visible damage like cracks or corrosion. Also, test the device after unplugging—if it doesn’t heat, the element might be dead.Are replacement heating elements easy to find?
Availability varies by brand and model. Check with the manufacturer or authorized parts suppliers to find compatible parts.Is it worth repairing or should I just get a new steam mop?
Consider the age of your device, repair costs, and whether other parts are failing. Sometimes, replacing the whole unit makes more sense long-term.What safety steps should I follow during repair?
Always unplug, wait for the device to cool, work in dry conditions, and handle electrical parts carefully. If unsure, hire a professional.As an affiliate, we earn on qualifying purchases.
Conclusion
Replacing a steam mop’s heating element can breathe new life into your device, saving money and reducing waste. But safety must come first—know your limits, follow instructions, or call in a pro.
Imagine the satisfaction of a fully functioning steam mop that’s been properly repaired—cleaning with confidence and care. Sometimes, the best move is a simple fix. Sometimes, it’s time to say goodbye and upgrade.
Fall Picks
fall essentials
As an affiliate, we earn on qualifying purchases.